
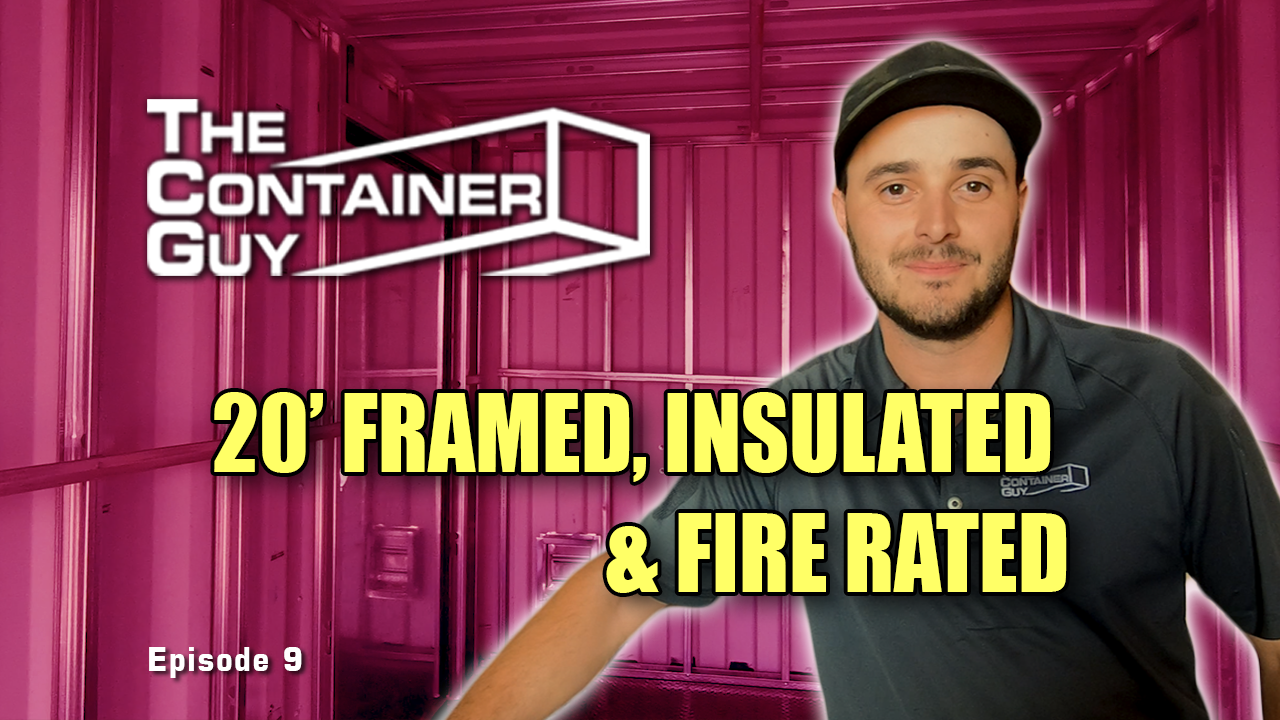
Converting A Shipping Container Into An Insulated, Fire Rated Utility Building
Converting a Shipping Container into a Master Control Room (MCC electrical service shack). The Container Guy will take you along as we modify a sea can into an MCC electrical shack. We will first install drywall and checker plate flooring before we cut out and install doors and ventilation frames.The next step is installing steel stud framing and spray foam, which is followed by a 2 hour fire-rated wall construction system. We will finish off the mod by installing a 10” exhaust fan, intake damper vents, a heat pump / AC unit, panic bar door hardware with self-closing device, and a final coat of epoxy floor coating.
Many construction methods and tips in this video transfer over to container home and cabin construction in Northern climates.
Purchase Container Modification World Products Used In This Video
YouTube Video Transcript
0:00
Hi I'm Channing McCorriston the container
0:02
guy today you'll be following along as
0:04
we modify a 20-foot container into an
0:06
mcc shack we'll give you a step-by-step
0:08
view on how we handle this container mod
0:11
we're going to be installing a two-hour
0:12
fire rated wall system in this container
0:15
and on the floor the floor is going to
0:16
get a 5 8 type x drywall and then a 3 16
0:21
checker plate floor covered we'll be
0:23
still stud lining the interior and then
0:25
cutting out the mandar openings
0:27
installing the mandoors and vents after
0:29
that we'll spray foam and we'll line the
0:31
interior with 5 8 drywall and plywood
0:35
and then installing an ac unit get into
0:37
the finishing touches where we finish up
0:39
the door handles and all the hardware
0:41
finishing interior trim that'll uh clean
0:44
it all up and then lastly just final
0:46
coat of epoxy paint right before we ship
0:48
this off to our customer
0:50
after landing a deal on national
0:51
television in 2011 where his team
0:54
pitched their idea of modifying shipping
0:56
containers he went on to start his own
0:58
business since then he's completed
1:01
thousands of container modifications for
1:03
clients in every major industry
1:05
now he wants to teach you everything he
1:08
knows about container modifications and
1:10
accessories
1:11
channing mccorrison is the container guy
1:25
so the floor system is going to have a
1:27
first layer of the 5 8 type x drywall
1:30
and then the 3 16 checker plate on top
1:32
and then in the walls we will be doing
1:34
the 5 8 type x drywall and then the
1:36
three quarter inch fire rated plywood so
1:38
this will allow the customer to mount
1:41
electrical cables and
1:43
panels or whatever they're doing inside
1:45
we don't know so this will give them a
1:47
nice freedom and flexibility to mount
1:49
anything anywhere inside the can so the
1:51
next step is we'll get the the welders
1:53
to start laying the floor and then we'll
1:55
take a look
1:56
[Music]
2:05
so we're back to check in on the
2:06
progress the epoxy floor coating has
2:08
dried over the weekend this is a checker
2:10
plate floor we did two coats of epoxy
2:13
the customer needed a very easy to clean
2:16
finish the product was super easy to
2:18
apply we used a roller
2:20
it seemed to self level and it hardened
2:23
up really nicely
2:30
so we're back here now we've actually
2:31
pulled the container out of our shop i
2:33
see the guys have the man doors already
2:36
installed and they've installed the t10
2:39
exhaust vent frame so this is pretty
2:41
cool inner modification world product
2:44
comes the frame for the ac infiniti t10
2:47
exhaust fan
2:48
and then also i guess the reason why we
2:50
pulled this out is there's a bit of
2:51
delay getting this uh this frame because
2:53
we had to engineer an exact solution for
2:56
the customer they had a specific
2:58
requirement of 10 inches tall and 28
3:01
inch wide opening so what's going
3:02
through here is a cable tray so yeah we
3:05
just created a custom cable tray
3:07
protrusion frame and just modified one
3:09
of our ac frame for the jobs and over
3:12
here we have the interior view of this
3:14
t10 exhaust vent frame it's got the
3:16
nutserts in here that allows us to
3:19
install and remove the t10 exhaust vent
3:21
you know if the motor ever dies we can
3:23
remove it easily we'll have to frame
3:25
around this nicely and clean it all up
3:27
once all the interior is lined and then
3:29
same goes here here's the custom frame
3:31
that we built we will be insulating all
3:34
around plywood and drywall right up to
3:36
it and then we have a galvanized
3:38
interior flashing that we'll go over and
3:40
just clean this up real nice this here
3:42
is our eight
3:44
inch intake damper so we're going to be
3:47
using two of these intake dampers on the
3:50
end wall of the container and these will
3:52
provide air to the t10 exhaust vent when
3:56
it calls for it but they will close up
3:58
and not ventilate this container until
4:02
it calls forward so in the winter time
4:04
you won't need to add extra heat to this
4:07
container and worry about passive
4:09
ventilating a unit
4:16
so here we finished up all the steel
4:18
stud interior
4:19
just give you a bit of a tour again
4:21
we've used our
4:23
container door flashing kit so this
4:25
installs on the doors rather than having
4:28
to stud the door so this is going to
4:30
retain all the spray foam and allow us
4:32
to plywood and drywall line the interior
4:34
of this container
4:36
steel studs got them installed one huge
4:39
tip here is that when you spray foam the
4:42
container typically you need to put this
4:44
furring bar
4:45
whether it be inside the studs through
4:47
the holes that are meant for it or with
4:48
the two and a half inch steel studs it's
4:50
kind of hard to get it in there so a lot
4:52
of times we'll just surface mount
4:54
the furring bar to the studs then when
4:56
they spray foam uh the studs don't twist
4:59
as bad as they would and they don't both
5:01
they're nice and plumb for your sheeting
5:03
afterwards so without the spurring bar
5:06
and if you're spray foaming you will run
5:07
into a problem make sure you have this
5:09
on there once it's all insulated then we
5:11
just remove it we can reuse this for
5:13
other projects something just keep an
5:15
eye out when you're framing the inside
5:17
corners of a shipping container and
5:20
planning to spray foam you need to make
5:22
room for the spray foam contractor to
5:24
get his nozzle into the corner so we've
5:27
tacked this one stud in place to show
5:29
you what not to do this stud should be
5:31
further over and also the end wall stud
5:35
so
5:36
these two studs are tight there's no
5:38
room for the spray foamer to get in and
5:41
insulate and get a good vapor barrier in
5:43
that corner
5:44
so if you pull the stud back on both
5:47
uh this side and that side your drywall
5:50
or plywood's not going to have an issue
5:52
spanning that extra inch and a half and
5:55
your spray foam contractor is going to
5:57
be much happier with you
6:03
so our spray foam contractor will be
6:04
here tomorrow morning we're all ready
6:06
for them it's super important i need to
6:08
stress this that you get ready for your
6:11
contractor to arrive you know what you
6:13
need to tell them and walk through the
6:15
container with the sprayer not just
6:17
their boss show them exactly any
6:20
potential areas of concerns if there's
6:22
something you do or do not want
6:24
insulated because more prep work the
6:26
contractor can do tape off any studs
6:28
make sure that you know something that
6:30
doesn't need to be phoned doesn't get
6:32
phoned more prepared you are ahead of
6:34
time better job they do less work later
6:36
and just nicer clean
6:38
finish with the proper vapor barrier
6:44
they'll be doing two inches of foam on
6:46
the underside two inches in the walls
6:48
and two inches in the ceiling
6:49
[Music]
6:54
we're blessed with the boss man that
6:56
comfort insulation we got lewis here he
6:58
came in just to check on the progress
7:00
and see how his eyes did and i figured
7:02
this is a great opportunity to snag him
7:04
and pick his brain and get him to tell
7:07
us
7:08
what are the benefits of using spray
7:10
foam in a shipping container hello i'm
7:12
from comfort insulation and i came just
7:14
to check the spray foam that the guys
7:17
did today in this container
7:19
this is a 20 standard container we use
7:22
two pound foam on the exterior cavity
7:24
and two inches is the minimum required
7:27
for a vapor barrier as you can see the
7:29
framing is very well done so we can have
7:31
a continuous vapor barrier in every
7:34
corner and we don't have any gaps
7:36
whatsoever this is pretty much what
7:38
we're looking for making sure that the
7:40
container is sealed 100
7:42
and you don't have any kind of
7:43
condensation or anything like that
7:45
happening in winter what are the
7:47
advantages of using spray foam versus a
7:49
fiberglass bat insulation huge
7:52
advantages with a spray phone huge spray
7:55
foam as you can see it's a dense we call
7:57
it medium dense product attached to the
7:59
steel cavity so there is nothing in
8:02
between right so there is no
8:03
condensation it becomes like a one
8:05
structure that condensation in the
8:08
fiberglass insulation
8:10
that could lead to health problems tons
8:12
of problems tons of pronunciation
8:14
conducts tons of thermal so when you
8:17
actually try to put regular fiberglass
8:20
what you're doing is creating a gap
8:22
inside and obviously
8:25
future issues that's what we're doing so
8:27
and this way as you can see there is
8:29
nothing in between so all you need to do
8:32
is just put a drywall on top or in this
8:35
case if it's industrial you can put osb
8:38
or plywood in the best of what you're
8:39
gonna use it for yeah but this is all
8:41
you need i would not recommend doing a
8:44
fiberglass insulation in an exterior
8:46
wall in a container
8:48
and particularly you're gonna put heat
8:51
or you know keep it warm during cold
8:54
temperatures yeah you know the day you
8:56
want to buy things and and build things
8:58
that are going to last long and this is
8:59
the best way to do it if you were to
9:01
build a container home for i guess
9:02
viewers that are looking to do that how
9:04
much insulation would you suggest i
9:06
would say for a home i will do three
9:08
inches minimum with three inches you can
9:11
achieve r20 which is pretty standard for
9:14
regular homes
9:16
that we have already in the city
9:18
problems it takes for the spray foam to
9:21
cure and before you can occupy the space
9:24
well it's grateful and reacts pretty
9:26
quick you know in seconds actually so
9:29
but we always tell a contractors and
9:33
just to wait a few hours at least four
9:35
hours so that the fumes
9:37
can actually
9:39
leave the in this case the container or
9:42
the building if it's a house but
9:44
obviously it's just perfumes you know
9:46
it's nothing to do with the crawl the
9:48
probe
9:48
is pretty much ready at the same time
9:51
that you're applying luis and i we've
9:52
been working together for
9:54
for 10 years now we became great friends
9:56
it's not our friendship that gets me
9:58
constantly bringing them back it's it's
10:00
the
10:01
the product so spray foam alone but also
10:04
the way that his uh staff apply it so
10:07
you know he has very strict quality
10:09
control he's here himself checking on
10:11
his contractors making sure they're
10:12
doing a good job making sure his
10:14
customers are happy and that's
10:16
definitely what keeps us coming back to
10:18
comfort and sleep i appreciate it thanks
10:20
to the container guide chatting and all
10:23
the stuff and we've been working
10:24
together for a really long time
10:26
and different kind of containers
10:28
different modifications don't forget to
10:31
come to the container guy for your next
10:32
container great guys and great stuff
10:35
thank you
10:36
yeah for sure
10:42
here we're gonna have a bit of fun
10:44
trying to get the
10:46
foam all uh leveled off in behind here
10:50
so that we can actually fit an inch and
10:51
3 8 of interior lining inside this
10:54
container door flashing kits we actually
10:56
just developed a quick and easy little
10:58
tool to allow us to almost screed the
11:00
foam and at least give us an idea of
11:03
where we need to remove a little bit
11:04
with our oscillating tools
11:06
so we're back here now we have the first
11:08
layer of drywall ready to go inside the
11:11
container door flashing kit so here's
11:13
the fire rated three-quarter inch
11:14
plywood so we just got to lift this up
11:16
into place and slide it through quite a
11:18
bit of work you know just to get that
11:19
that spray foam leveled out in behind
11:21
there so that these do fit because it is
11:24
such a thick interior finish
11:26
yeah it was a tight fit but it will fit
11:29
tight
11:30
uh once we get all these screws through
11:32
the flashing into the plywood it'll be
11:34
uh
11:35
super rigid just super clean finish on
11:38
this so the doors will operate perfectly
11:40
once everything's all tidied up so we
11:42
just quickly checked the fitment by
11:44
closing the door
11:45
and it's really nice and tight here so
11:48
yeah we really like how that turned out
11:50
we'll have the same plywood finish here
11:52
they'll just be the galv strip in
11:54
between but yeah super clean
11:56
finish with this door flashing kit so
11:58
here again we'll be using our number
12:00
eight uh
12:02
wafer head phillips wood screw
12:04
and just now through the holes
12:08
just continue that all the way along
12:13
yeah
12:15
that thing will be in there solid
12:26
[Music]
12:28
so we're back here just to check in on
12:30
the progress uh they have the
12:34
walls and ceiling all with the first
12:35
layer of the 5 8 type x drywall just
12:38
started on the
12:39
three-quarter inch fire rated plywood so
12:41
the end walls and the first sheet in the
12:43
ceiling are installed
12:46
we put the ceiling sheets in first and
12:48
then the sidewalls so that they actually
12:50
can you know hold the sheets up the
12:52
plumber will be here shortly and he's
12:54
going to start mounting the uh the upper
12:56
head unit for our split air conditioner
12:58
so yeah we'll check in on these guys in
12:59
a little bit
13:06
our plumber has finished uh mounting the
13:08
interior head unit and then run
13:11
the uh the lines from that
13:14
through the wall and to the exterior
13:16
condenser
13:18
so
13:18
one thing to note this mini split unit
13:21
it does require a plumber to install it
13:24
because they need to vac out
13:26
all of the air and moisture out of the
13:29
lines prior to releasing the refrigerant
13:32
we'll just jump inside here quick and
13:33
just show you what that head unit looks
13:35
like it'll come with a remote and allow
13:38
you it's even got the yeah the defrost
13:39
mode run timer so it'll the remote allow
13:42
you to set your temperature inside your
13:44
container we really like these mini
13:45
split units because it's just such a
13:48
small hole that's cut through the
13:49
container in the winter time you're not
13:51
losing all of your heat through a large
13:54
window shaker opening to circulate air
13:56
in this container
13:58
we've chosen the t10 exhaust vent there
14:01
and then in order for that exhaust vent
14:03
to actually grab air from the outside
14:06
and circulate it through we have these
14:08
uh eight inch intake dampers
14:10
so these intakes here when they're wide
14:12
open
14:13
uh they're wide open so you know a bird
14:15
or whatever could fly right in there so
14:17
we've actually laser cut and
14:20
used some of our same mesh screen that
14:21
we use on our bug screens for our big
14:23
air vents we've got this here that'll
14:25
rivet on and then when this intake
14:27
louver opens up that stops bugs dust or
14:30
blowing snow whatever from entering into
14:32
the container one uh intake damper there
14:34
they've already got the mitered trim
14:36
flashing kit there and then on the other
14:38
side still to do
14:40
the guys have just slid in the t10
14:42
exhaust vent here so this installs on
14:44
the inside of the container we either
14:46
use the m6 nuts that are included or
14:50
it's nice to get you know thumb screws
14:52
actually that just easy for removal
14:53
these things i think they last like 67
14:56
000 hours so you shouldn't have to be
14:58
replacing this very often but yeah we
15:00
love this exhaust vent it's got such an
15:03
intuitive controller to adjust either
15:06
you set high and low parameters for
15:07
humidity or temperatures and we've also
15:09
mounted the controller and just pulled
15:11
up the wires for the customer just find
15:13
it kind of funny in here that you know
15:15
we got these electrical components but
15:17
they're not plugged into anything
15:18
there's no power going into this can but
15:20
the customer is an electrical contractor
15:22
he's building this as an electrical uh
15:25
control room so
15:26
they'll be tidying up everything and
15:28
doing the final fit and finish and
15:30
placement of all the electrical
15:31
components another thing to look at here
15:33
because it's going to an industrial site
15:36
safety is a concern and so we're
15:38
installing a crash bar or panic hardware
15:41
thumb latch on the outside crash bar on
15:43
the inside
15:45
with these things here there's three
15:47
different adjustments on them you can
15:49
adjust the spring tension that's inside
15:50
of it and then up top here there are two
15:54
uh allen key screw head there that you
15:57
can either adjust the uh the closing
15:59
rate or the latch rate you gotta play
16:01
around with how fast you want the
16:02
majority of the door to swing and then
16:04
how much uh torque you want to just get
16:06
it to latch and make sure you read the
16:08
instructions and just stick with it just
16:10
got a few odds and ends to clean up
16:12
finish caulking around some of the trim
16:14
after that we will apply the second and
16:17
final coat of epoxy on the steel floor
16:19
and then this thing is ready to deliver
16:21
to the customer if you have any comments
16:24
or questions please feel free to leave
16:25
them below
16:26
if you enjoyed the video please give it
16:28
a like subscribe to our channel and hit
16:29
the bell for notifications and also
16:31
check us out at tcg.ca
16:34
hope you learned something!