
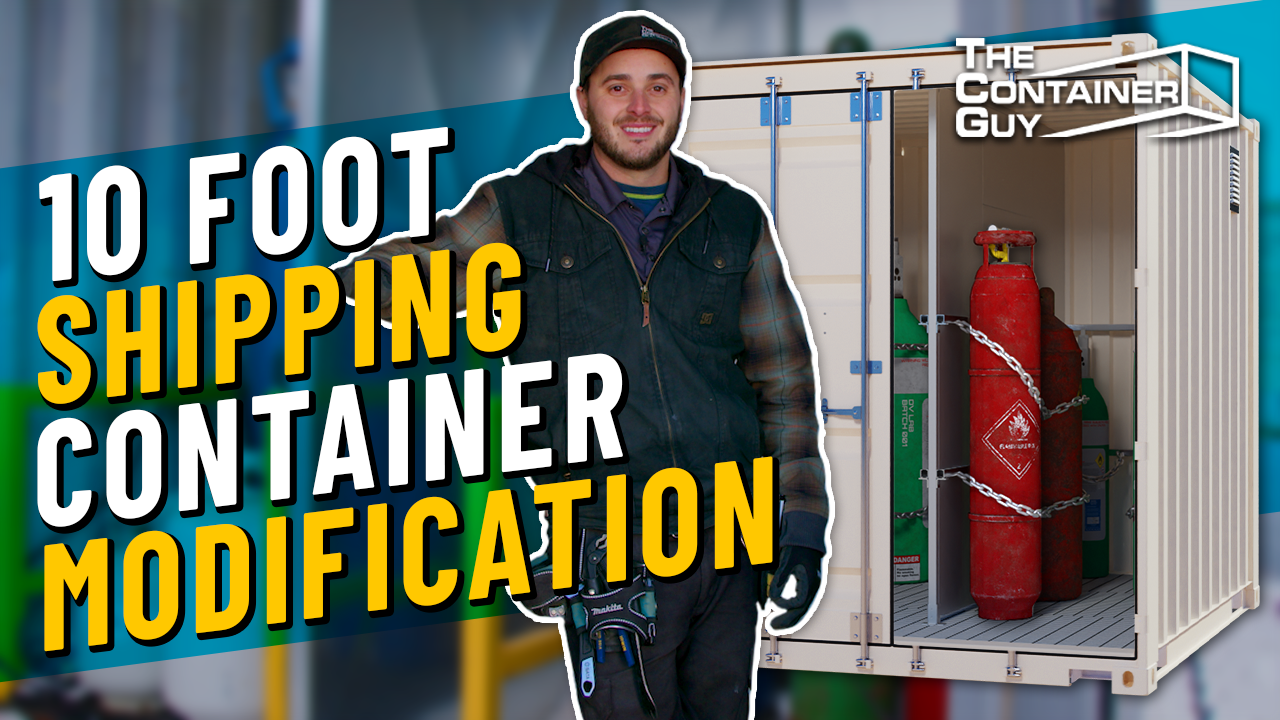
We Modified a 10' Shipping Container Into a Bottle Storage Shack
Follow along as we modify this 10’ shipping container into a Bottle Storage Shack. In this container modification, we will be replacing the wood floor with bar grating, installing strut channels along the wall, putting a partition wall down the middle, installing Big Air 45 vents, and then inserting slotted struts horizontally to hold the bottles in place against the wall.Hope you learn something!
Purchase Container Modification World Products Featured in The Video
YouTube Video Transcript
0:00
In this video, we'll be modifying a 10' high cube shipping container into a bottle storage shack.
0:06
So, we'll be removing the wood floor, replacing it with steel bar grating,
0:10
installing strut channels along the wall, a partition wall down the center,
0:14
and then some slotted strut, which is going to allow them to chain up their bottles
0:18
against the strut and store them in a secure manner. Follow along.
0:28
And so these containers here, this is a 10' container, it's not a standard ISO size, it's uh--
0:34
10's usually come bolted together as a 20', and that's how they fit in vessel slots on boats.
0:39
This being a new container, it's pretty easy to remove them. Sometimes on
0:44
used containers, these could be rusted or broke or sheared off so,
0:49
you struggle with it a little bit more but just stick with it you will get it.
0:52
And so I'll just pull out the last few screws here and then show how this panel comes out.
1:03
This is going to be used as a cylinder storage container.
1:07
That's the reason why they don't want any wood or any flammables in this.
1:10
The bar grating in here, that's going to act as our lower vent, and we're going to install higher
1:14
vents up on both sides so the air will come from underneath and above, or if there's any
1:19
gases in here that--if they're lighter or heavier than air, we have options of either exhausting
1:25
out the top or the gases will flow out underneath this container.
1:29
And so, with this bar grating here, because we have a partition wall running down the center,
1:35
we're going to weld in some stiffeners, which is going to allow us to screw that
1:38
partition wall down into something because it's going to be kind of hollow under here.
1:42
And so in here, we have our center supports all welded in,
1:45
and then we've taken some rubberized spray and hit all the tops of the channels because
1:50
that wasn't undercoated when this existing floor was on,
1:53
and now the elements will be landing on there, so just protect that steel a little bit better.
1:58
And next step here is just throw the bar grating in.
2:01
Make sure that you're coming out nice and square,
2:03
so you're not sideways all the way because these things are cut square on both ends.
2:08
We just threw the last one in to see where it'll end up, so it works out quite well
2:12
in the 10' containers that we're able to use three 3' pieces and it's just under 9'.
2:18
So the final step here to putting the flooring in is these Hilti clips. We use them
2:22
with a-- we have to get a longer self-tapping,
2:26
3/8" hex head driven... uh it's a quarter inch self tapping screw so.
2:30
We do like to pre-drill just-- a lot of these, you use two self tappers to get one hole so.
2:40
And this-this footer material here, I think it's...
2:45
There's a 3 or 5 millimeter thick-- a lot thicker than what uh the sidewall corrugation
2:49
which is only 1.6 mil thick. Sometimes the end walls are 2 millimeters. Interesting fact.
2:58
Broke it!
3:00
We're gonna go again with a 15/64s drill bit, and see if we don't break
3:05
off the self-tapper this time. Let's go right beside.
3:15
Nice and snug. So I'll do a couple more here,
3:18
and then I'll let the boys get at it and finish this thing up.
3:36
So, we're going to cut up all the strut for this job. We actually uh,
3:40
we have an insulated 53-foot container in our yard,
3:43
and we converted this to our cutting stations. So we built a table where we can cut our strut,
3:49
and we got our metal cutting chop saw here and our lube, which is super important.
3:55
So these blades here are super expensive to be cutting this uh this strut channel,
4:00
but it does a very quick and easy and fast job of doing it, so make sure you're lubing your blade
4:05
if you're cutting with this. We'll cut-cut these struts, and then get back to the job.
4:14
We're gonna do a little scientific experiment here, and my hypothesis
4:18
is that I can use this Square Tube Mount Bracket instead of our CSM Brackets,
4:22
the black ones, and strut line this whole container for this purpose.
4:26
The reason why I'd like to see if this works is they're a lot cheaper to manufacture;
4:29
it's just one piece instead of two. It's thinner material, but it's strong because it has a gusset
4:35
folded into it, and it's galvanized and cut with nitrogen, so even the cut edge won't rust.
4:41
So yeah, I'm curious whether we can come up with a cheaper solution for the public to
4:45
be able to strut line containers, and then once your cans are strut lined,
4:48
you've got all these options to organize your life using our Modular Interior Systems.
4:52
So with this Square Tube Mount, we think we can kind of pre-install
4:57
the brackets into the strut channel prior to holding it up, and then
5:04
hammer our self-tapping screws through the top, I guess. And because this is a bar grated floor,
5:09
we'll be using longer self tapping screws to go through the bottom.
5:12
So we already have all the spring nuts--all the hardware--dialed in, I'm going to pre-drill these.
5:24
And that there, we're going through a hollow tube. So because it's a hollow tube we're
5:30
not actually drilling right through the roof of the container, so these
5:33
uh thread cutters or self-tappers that we put in here, nothing's penetrating the can.
5:44
That's on there pretty good. We haven't done the bottom yet,
5:47
so once we do that this thing will be in this container tight.
5:50
So on the bottom here: this could have even been done prior to holding this thing up,
5:55
but just to show you where it's going, to give you reference, uh spring nut we're going to aim for…
6:05
We're gonna try to see if we can utilize this here, and then self-tap down through this flat bar
6:12
and have that hold this strut in place without using the CSM brackets, so.
6:18
A downfall to the CSM brackets is that a quarter inch thread cutters on the side here,
6:22
those go through that bottom channel, and then if you look from the outside, you can actually kind
6:26
of see--you can see the bolts, they go through the… they penetrate the envelope of the container.
6:36
We now have the center end wall strut in place,
6:40
and then the one across uh the ceiling, the lengthwise of this…
6:44
And so these partition walls that are meant to go sideways, we're going to turn this
6:47
lengthwise and try to install it now, so I think we've planned everything out,
6:52
it should work well and we'll just get at her.
6:54
And so these kits here have slotted holes
6:56
where they get bolted into the strut channel, so you got to make sure that you put your spring nuts
7:02
in everywhere where those holes are prior to putting this in place.
7:07
With this partition wall kit, we like to use stover nuts. They're pretty sweet,
7:10
they're like a nylock nut but they're just, they don't have the nylon in there. It's actually,
7:16
the distortion of the threads in the nut cut into the bolt and that's what clamps it on there, so as
7:22
you tighten it, it basically damages the threads of the bolt so that she's stuck on there for life.
7:34
We've got the rest of the partition wall all bolted together to the roof strut
7:39
and down the sides, just the floor is a little floppy yet here, so.
7:43
We're using the last chunk of strut as a straight edge all the way down, so we get this nice and
7:46
straight, and then we've already prepared and have that uh angle iron welded down the seam, so now we
7:53
just have long self-tapping screws and throw them in and make sure we hit that angle iron.
8:00
Uh, here's our base bracket that we're gonna try out down at the bottom there. It should hug the
8:04
strut nicely and give us three places to screw down into the wood floor of shipping containers.
8:10
So here is the finished wall. We jump on the other side, that's what we call, I don't know, the
8:18
framed wall. So what we could do here yet uh, if you wanted, say if that was the storage side of a
8:25
office storage combo, this now we can still spray foam insulate this two inch cavity, and then with
8:32
these return folds we have something to screw what we typically use is the reline uh wall panels so.
8:38
Here, just to give you an idea of these partition walls and how they work, we have
8:43
one going crosswise in this container. This is our own container, this is what
8:46
we use in our shop. And then we actually have a wall coming out to separate our
8:51
fuels and inert versus the oxidizers here, so.
8:54
We had this container, we're using the rest of it as a roll tarp door for lay
8:58
down yard storage for our mods, so. Decided, hey this cool place, uh we want to try out our
9:03
kind of prototypes for our partition wall kits and they seem to work great for this.
9:07
Now all that's left to do in this container is install the two top vents
9:11
and the horizontal slotted strut, which will retain the gas cylinder bottles.
9:16
So we have this container all buttoned up now. Partition walls are in with the slotted strut
9:21
on both sides of it. We got the slotted strut on the wall as well, and so these are installed
9:26
with our two hole angle brackets and they're spring nutted on it into the side channels.
9:30
So if it gets to site and they need the strut to be either higher or lower
9:34
to fit shorter or taller bottles they can do that, it's super modular, and then yeah.
9:39
If you come along here, the bottles will be stored
9:42
inside this and they'll be able to ratchet strap, bungee cord, or
9:46
a lot of times a steel chain to hold those in place and stop them from falling-falling.
9:51
And then here is this uh upper vent with the bug screen, so that's a Big Air 45 vent,
9:55
and that is going to exhaust all vapors that are lighter than air, so anything
10:00
that is uh floating up high it's going to get rid of there, and as i said earlier,
10:04
all of the lower vapors will exit out of this container through the metal grated floor.
10:09
So there it is, that's a bottle storage container out of a--out of a 10 footer. If you enjoyed this
10:16
video, please give it a like. If you'd like to see more, please subscribe to our channel and
10:20
ring that notification bell. If you have any comments or new product suggestions,
10:24
please feel free to leave them below. And as always, check us out at tcg.ca.
10:30
Hope you learned something.