
How To Install a Roll Up Door and Framing Kit on a Shipping Container | The Container Guy
Installing a roll up door and framing kit on a shipping container is made easy when Channing McCorriston, The Container Guy, explains the installation instructions. He will show you the proper way to install a 6’4” roll-up door on a 40 ft standard one-time use shipping container.
If you’re interested in starting your own container modification, go to planmycan.com to start designing your shipping container. For more information, check out our website at tcg.ca. Hope you learned something!
Take a look at all our Shipping Container Modification Products!
https://containermodificationworld.com/
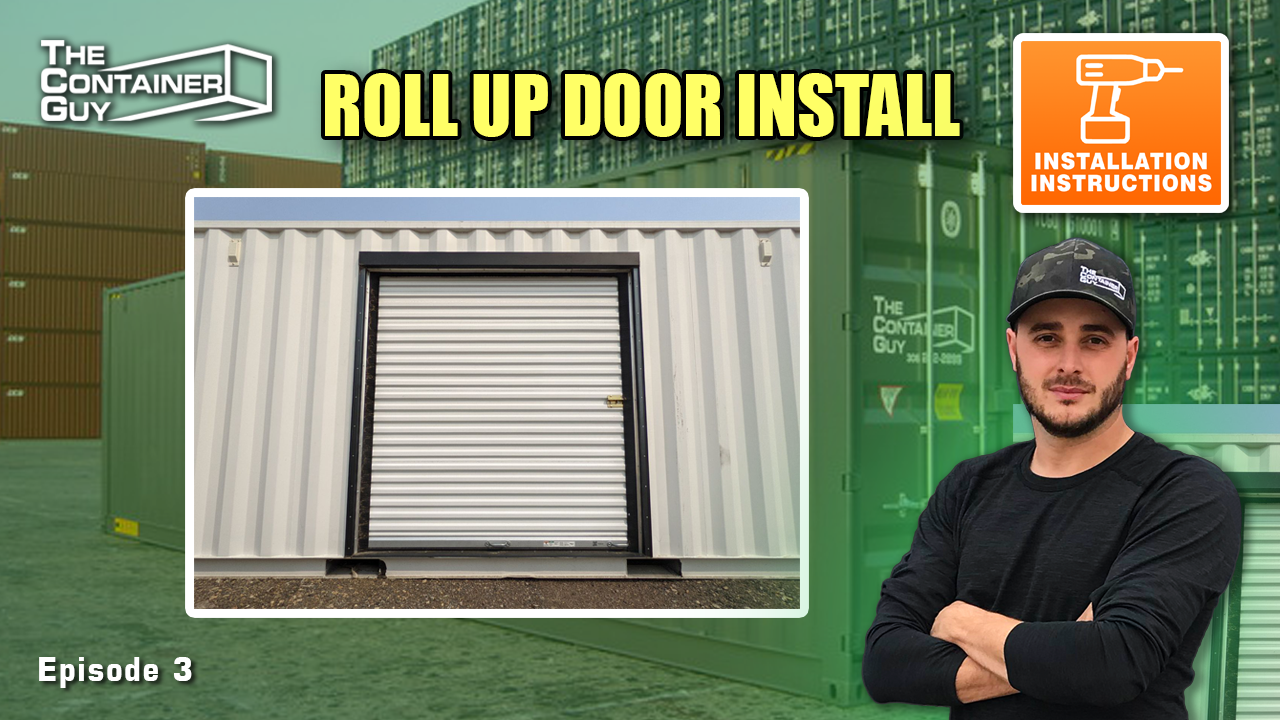
How to Install a 6'4" Roll-Up Door in a 40-Foot Shipping Container
Installing a roll-up door in the side of a shipping container requires precision, structural awareness, and proper weatherproofing. In this detailed walkthrough, Channing McCorriston, The Container Guy, explains how to install a 6-foot 4-inch roll-up door in a 40-foot standard one-time-use container.
From door sizing to final seal installation, this guide covers the full process to ensure a strong, clean, and professional result.
Why a 6'4" Door Instead of 6 Feet?
The door width is 6 feet 4 inches, with a rough opening of 76 5/8 inches wide by 84 inches tall.
This dimension is not random. Shipping container corrugations are spaced 11 inches on center. Choosing 6'4" ensures the door frame lands on the outside corrugations, preserving structural integrity.
Standard planned door widths often follow this corrugation pattern:
-
6'4"
-
7'3"
-
8'2"
-
9'1"
-
10'
This approach keeps framing aligned with the container’s structural ribs.
Cutting the Opening Safely
When cutting the corrugated panel, leave a small section at the bottom weld uncut. This creates a hinge effect so the panel can pivot and drop safely to the ground.
Cutting just above the bottom weld prevents injury and avoids uncontrolled metal movement.
If there are dents in the container wall, hammer them out before cutting to prevent vibration and alignment issues later.
Frame Components and Installation Order
The roll-up door frame consists of four laser-cut components:
-
Left side frame
-
Right side frame
-
Header
-
Footer with threshold plate
Proper installation sequence is critical.
Step 1: Install the Footer
The footer rests on the bottom weld and includes a threshold plate designed to direct water out of the container rather than allowing pooling.
Rivet the footer into place first.
Step 2: Install Side Frames
Side frames attach to the outside corrugations using rivets through pre-cut holes.
They are 5.5 inches wide, allowing multiple doors to be installed along a 40-foot container while maintaining strong vertical columns.
Self-tapping screws secure the side frames to the internal 60 mm square tubing for additional strength.
Step 3: Install the Header
The header overlaps and rivets to the side frames, creating a reinforced vertical column from floor to ceiling.
Silicone is applied around the frame edges and header to prevent water intrusion.
Structural Alignment Tips
After cutting, corrugations may bow inward. Use a pry bar from inside the container to pull the frame tight against the corrugations.
Always ensure the container is level before final door installation. Uneven ground can cause binding and operational problems.
Installing the Roll-Up Door
Door kits typically include:
-
Door slab
-
Left and right tracks
-
Hardware kit with handles, stoppers, and tension components
Important: Do Not Cut the Strapping Tape
The door slab is tightly strapped for safety. Do not cut the strapping until the tracks are fully installed and the door is ready to drop into position.
Track Installation
Tracks attach to the frame using carriage bolts and self-tapping screws.
For standard containers, door height may need trimming. High cube containers typically use 7'3" doors, while standard units require approximately 7 inches trimmed from the height.
Lifting and Dropping the Door
Due to the door’s size and awkward shape, multiple helpers are required.
Once positioned in the tracks:
-
Secure alignment
-
Carefully cut the strapping
-
Slowly lower the door into place
Install handles and stopper plates to prevent the door from over-unwinding.
Adjusting Door Tension
Door tension is adjusted using a punch tool on the gear mechanism.
Use caution. Excessive tension can be dangerous.
After installing brush seals, additional tension adjustments may be needed due to added resistance.
A rope is typically included to help pull the door down from inside if the height makes it difficult to reach.
Sealing and Weatherproofing
Brush seals are essential for keeping out dust, snow, and insects.
-
Top seal: 2-inch brush with 180-degree aluminum retainer
-
Side seals: 3-inch brush with 45-degree aluminum retainers
Initial compression may feel tight. Over time, exposure to sun and regular use softens the seal.
The door latch includes a slot for a disc lock to secure the container.
Height Considerations
Maximum opening height in a standard container is approximately 6'8".
High cube containers allow taller openings, typically around 7'3".
If the container roof is dented or uneven, track trimming may be necessary to prevent binding.
Final Thoughts
Installing a roll-up door in a shipping container is more than cutting a hole and mounting hardware. Proper corrugation alignment, structured framing, safe door handling, tension adjustment, and sealing are all critical to a successful installation.
When done correctly, the result is a secure, weatherproof, and professionally integrated access point that maintains container strength and durability.